




Toote toon ja tegelik värvus võivad erineda pildil kujutatust, kuna pildid on illustratiivse iseloomuga. Samuti on toote kirjeldus üldine ega pruugi sisaldada kõiki toote omadusi.
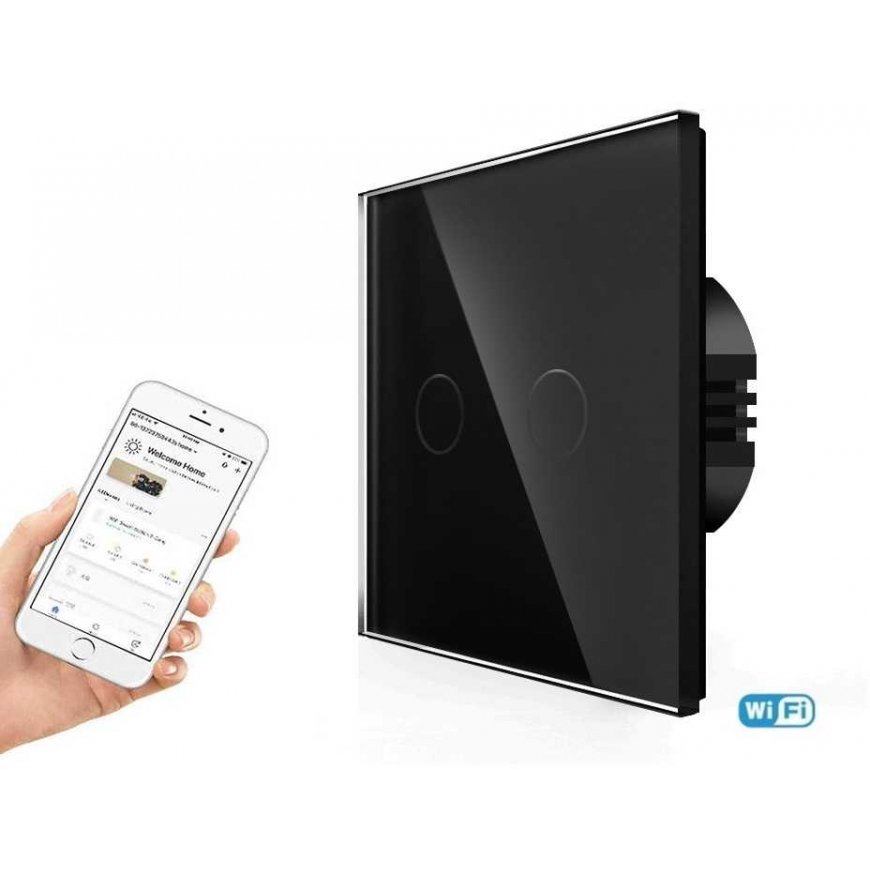
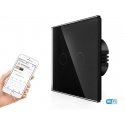
Spring Bipolar sensor switch, remote control (WIFI), Black
2479331 T-MLX56663
0713239861693
Tarneaeg 2-3 t.p.
Description
The touch switch with an exclusive minimalist design will attract the eye with its aesthetics and elegance. With the sensor switch, you can turn on the light with just a touch. The switch features simple and reliable operation. A tempered glass panel, a fire-resistant inner body, and a steel frame will ensure the highest quality. The switch has a built-in LED indicator that shows when the light is on/off and helps you find your way in the dark. "Touch" series switches will help to implement various technical solutions according to the wishes of the most demanding customer.
The switch is suitable for European standard boxes, so it is easy to upgrade old switches, no additional installation work is required.
Remote control (WIFI) - provides the additional option of controlling the switch remotely using a smartphone or tablet
Technical data:
Dimensions (with glass panel): 86mm x 86mm x 35mm
Nominal operating voltage: 90V – 240V AC
Maximum load: 1000W
Compatible operating system: IOS/Android
Power consumption: <0.2W
Working environment from: -20 to 70 C
Relative humidity <95%
Manufacturer: SPRING
Adding a switch in the SMART LIFE - SMART LIVING app
1) Download the Smart Life - Smart living app and register.
2) Make sure that Bluetooth and Wifi networks are enabled on your phone (the router must work at 2.4 Ghz frequency).
3) Press and hold the switch button for 5-7 seconds until the indicator starts flashing.
4) After clicking "+" and "Add Device" in the app, you will see a list of suggested devices to add.
5) Click Add on the selected switch(s). In the window that opens, enter the network connection data and click "Next". Starting device addition (switch addition, may take about 20 seconds)
6) Click "Done" after adding the device.
Switcher
Method 1:
Each sensor switch with WIFI can also function as a switch, which requires special programming settings:
1) Open the "Smart Life - Smart Living" app
2) Click "Scene" -> "Create Scene"
3) Select "when device status changes" -> switch No. 1 -> "Switch" -> "ON"
4) Press "+" next to the "If" box
5) Select "when device status changes" -> switch No. 2 -> "Switch" -> "ON"
6) In the "Then" field, press "+" -> "run the evice" -> switch No. 1 -> "Switch" -> "ON"-> "Save"->"Next"
7) In the "Then" field, press "+" -> "run the evice" -> switch No. 2 -> "Switch" -> "ON"-> "Save"->"Next"
8) Press "Self"
9) Click on "Scene", then click on the "+" sign at the top right
10) Select "when device status changes" -> switch No. 1 -> "Switch" -> "OFF"
11) Press "+" next to the "If" box
12) Select "when device status changes" -> switch No. 2 -> "Switch" -> "OFF"
13) In the "Then" box, press "+" -> "run the evice" -> switch No. 1 -> "Switch" -> "OFF"-> "Save"->"Next"
14) In the "Then" field, press "+" -> "run the evice" -> switch No. 2 -> "Switch" -> "OFF"-> "Save"->"Next"
15) Press "Self"
16) The switches are programmed
*For two-pole (three-pole) switches, we create two separate automation groups for each button.
*For cross switches, we add three switches to the "Condition" and "Task" fields.
Method 2 (works with updated WIFI switches and the latest version of Smart-Life software)
1) We open the "Smart Life - Smart Living" app
2) In the list of switches, we select one of the switches that we want to act as a switch.
3) Click the settings icon in the upper right corner of the switch window that opens.
4) We select "Multi-Control Association".
5) ( If the switch is two-pole or three-pole, select one of the poles on the dark background at the top, which will have to act as a switch, if the switch is single-pole, you don't need to do anything) Then click "Link with switch"
6) In the Button window that opens, select Switch1
7) The switches are ready to act as switches!
Connecting switches
In the first switch we connect the power and wires to the light(s), in the other switch(es) we connect only the power (the switches communicate via WIFI wireless connection).